

It’s not much of a stretch to say that most golfers have imagined what it would be like to have a home simulator. If you have played on one, you likely cannot deny that the urge to go home and measure space was incredibly strong, and you probably also spent some time googling various companies to compare prices. And, I imagine, you also checked the measurements, compared them with your available space, and ultimately realized one of two things: 1) “Boy, this is gonna be a very tight squeeze” or 2) “This is going to cost an arm and a leg.”
Even if you’re fortunate enough to be all set and ready to spend and build, this is still an intimidating, uncertain process. It’s kind of like getting a tattoo — you know what you want, you’re certain it will look cool, and hopefully you’ll be happy with the finished product… however, this is a (mostly) permanent installation. Even the slightest flaw or delineation from the original plan could leave you eternally irritated, especially if this is a DIY effort and you’re responsible for every step of the project.
For example, a good buddy of mine carved out a little section in his new home’s backyard so he could build his ideal golf simulator and host friends for a weekly faux round and cocktails. In theory, everything sounded right, and his “blueprints” boasted meticulous measurements and specific details for every element, from the hinged monitor mount to the mini fridge loaded with IPAs I’ve never heard of before. He was so confident that everything would go to plan, and we’d all be playing a course that looks an awful lot like Augusta National in no time, but the golf gods had other plans.
What was supposed to be a weekend build turned into a two-week comedy of errors and unforeseen dilemmas that left this poor dude stressed to the max. Oh, the irony of this stress relief system doubling his blood pressure! The playing surface was uneven after two attempts to smooth the ground (he had to pull the turf multiple times to fix this), his wood and PVC screen frame needed added support after falling over in a typical Florida summer storm, and the monitor placement had us scratching our heads during the test round, as it wasn’t reading our swings properly and had me constantly pushing the ball right, despite the many lessons I have taken to stop doing that in real life.
Obviously, this is a warning lesson for anyone going the DIY route instead of hiring a professional, but some of us have an emphasis on budgets. Still, we can’t let that deter us from fulfilling our golf simulator dreams, and so, in my own quest to convince my wife to let be build a golf sim, I turned to an expert for advice on how to best approach this endeavor.
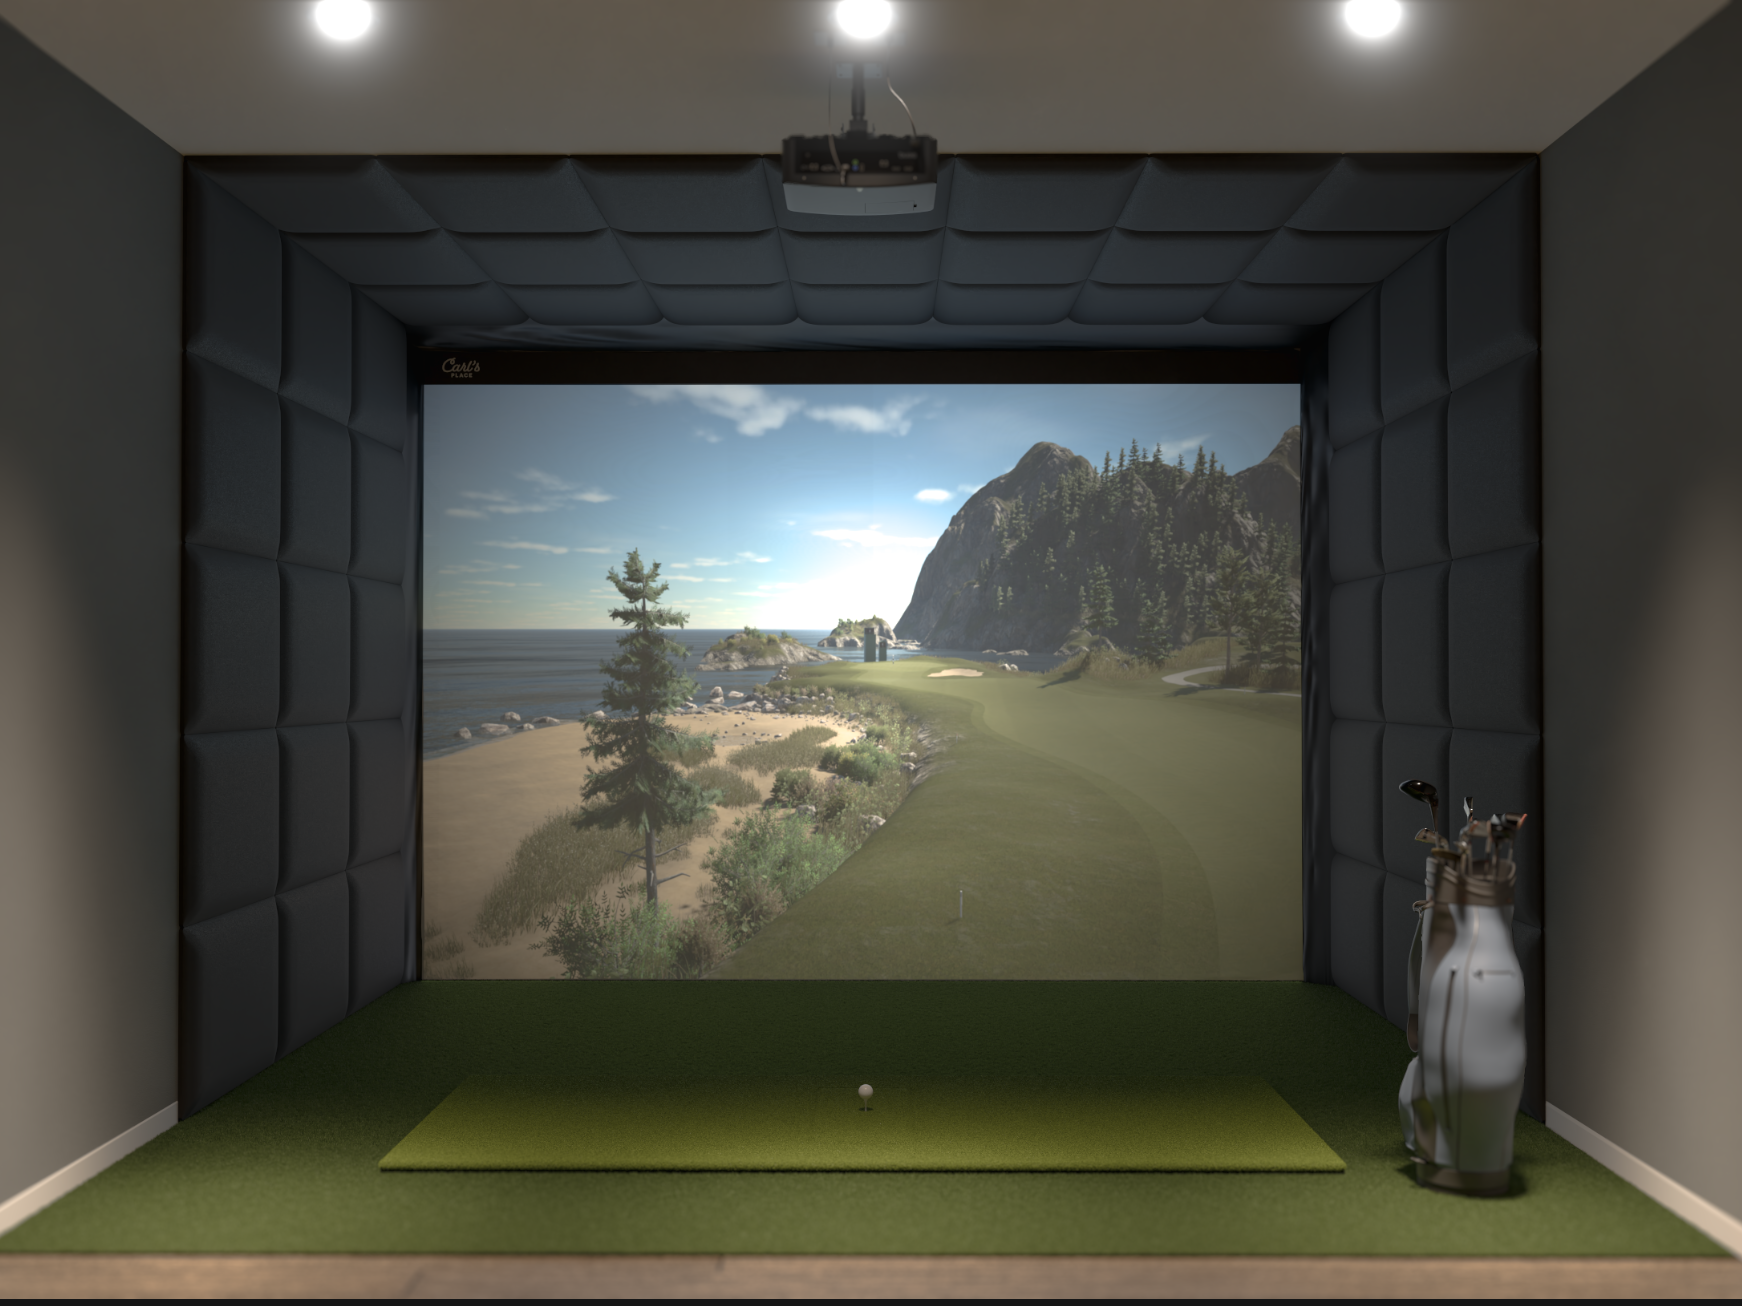
Carl Markestad is the founder of Carl’s Place, which is a one-stop shop for affordable, customizable screens and enclosures, in addition to launch monitors from partner brands like Uneekor and Foresight.
Basically, he’s a guru of golf simulators, and he offered me these crucial pointers for getting started:
1) The whole room and nothing but the room
Whether building a new home and having a room already dedicated to a golf simulator, or simply renovating an existing room into that sporty space, there is a strong benefit to investing in a customizable simulator.
“They’re building a new house, and they know they want a golf sim,” Markestad explains of his customizable concept. “So, they’re dedicating the space to it from the very beginning, or they’re remodeling or just rehabbing a room to make it a dedicated golf sim space. We needed a product that could help them turn that entire room into a sim.
”The basic idea is a screen system that that mounts directly to your walls, and then a padding system to protect the walls. The trick was figuring out how to make it work in any room. It’s fully customizable — you give us the size of your room, we’ll make the kit with the right size screen and cables and mount all that. You screw it to the wall, put the screen up, and then you have a simple way to kind of get that finished look.”
The combination of a custom build and DIY process makes the endeavor both more affordable and convenient in terms of time and maybe even pickiness, as you can go step by step in determining what you like and don’t like in terms of looks. That’s why it’s also important to look at every brand for comparisons in price and feasibility.
2) Be Aware of Potential Problems First
You can, of course, save a lot of time by identifying possible mistakes and bad choices before you even unpack the kit. First and foremost, be honest with yourself about what you’re working with.
“What should people avoid? The big thing is space,” Markestad offers. “A lot of times we hear from people who are excited to build a sim, and they give us their space and it’s really tough, it’s small. Maybe they’re using an old office or something like that, so it’s just tough.
“Not that it’s impossible, but you have to make a lot of concessions when you have a tiny space. Step one is making sure you’re getting enough space for this, if at all possible. Then, it’s kind of just knowing what you really want out of it — a lot of people don’t know what they want out of it. They see pictures or videos of other people doing it and they want that. We have to help them understand, maybe you don’t really want that because that’s not what you do. There’s a lot of really cool stuff out there that club fitters or trainers would use that home users just don’t really benefit from.
“That means their budget could go toward a nicer projector or a nicer monitor. So, start with: What’s your goal out of this? It’s a great way for us to help you get connected with the best thing. Do you want to just practice? Do you want to really improve your swing over the winter? You just want to goof around, have your buddies over and have fun? Got kids that you want to enjoy this, too? All those things go into what hardware and software, and all that really changes a little bit once we understand all that.”
3) Get Ahead of the Curve
Like with any major purchase of technology, we know that once we invest in the “hot new thing,” the “even hotter, newer thing” is eight around the corner. You can avoid that kind of FOMO by identifying the brands that are making significant, obvious advancements in the golf sim game. That’s why Carl’s Place stood out to me at this year’s PGA Show, having unveiled a new curved screen that goes a long way in delivering a realistic game concept within the confines of your space.
“ The really basic idea is when you have a given width of space available, by curving the screen forward at the edges, you’re filling a wider range of your vision,” Markestad told me. “As you’re golfing and you look forward, if the screen were square and takes up, say, 70, 80 degrees of your vision, by curving it, you can get that to a hundred or 120 degrees, depending on how far you curve it.
“It’s all about just immersiveness, right? The more of your field of view it takes up, the more you feel like you’re at the course — that’s the big idea. It’s the bigger the space, the more of your field of view it takes up, the more you can gain when you want that kind of next step up to cool factor.”
But it all starts with the products, and the best thing that Carl’s Place offers is its Build Your Own Simulator tool. You can look at the value of something like the C-Series DIY Golf Sim Enclosure Kit, but how does it differ from the Built-In Golf Room Kit? Purchasing before you have the most crucial answers could cause massive headaches. At the very least, it’s a fun way to daydream before you make it all come true.
